Overview 02: MLA Manuscript Format
Overview
Writing in the Humanities—in disciplines such as English, literary studies, philosophy, cultural studies, foreign language studies, and other related subjects—is often presented in a common manuscript format and organization, created by the members of the Modern Language Association (MLA), the professional governing body for studies in language and literature. This manuscript format makes it easy for practitioners in these disciplines—students, scholars, editors, and yes, even English 101 teachers—to gather reliable basic information about what they are reading, the writer who performed it, and the circumstances under which it was created.
The Freshman English Composition program requires that all formal writing assignments in English 101 and 102 adhere to MLA Manuscript Format guidelines.
MLA Manuscript Format: The Basics
An MLA Manuscript Format paper conforms to the following guidelines:
- All pages are in 12 Point Times New Roman Font.
- All pages have one inch margins on all sides.
- All pages are double spaced.
- All pages have a running header (top right) consisting of the author’s last name and the page number.
- The first page has a title and heading with the author’s name, the paper’s title, the date, and the instructor’s name.
- If the document includes cited sources, it contains a properly-formatted Works Cited page.
Formatting in MLA Style Using Microsoft Word
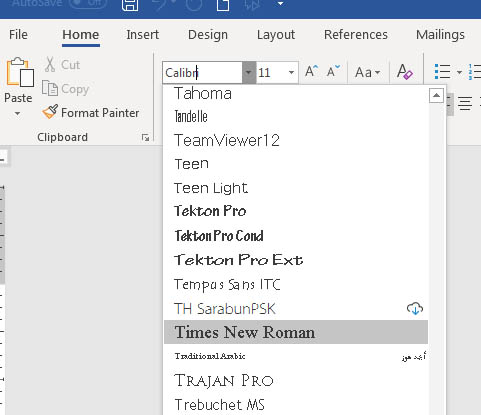
Step 1: Set the Font to Times New Roman 12
- Before you begin typing, click on the drop-downs in the Home tab that list the Font name (such as Times New Roman, Calibri, etc.) and the point size (12).
- Select Times New Roman from the font name drop down, and “12” from the point size drop down.
- If you already have text typed into your document, select it, and then set the font to Times New Roman. To select all the text in your document, choose Select / All from the menu on the far right of the Home tab.
Figure 1: Setting the Font
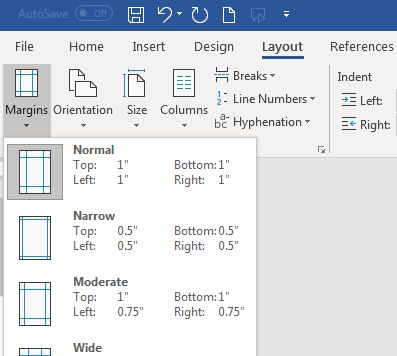
Step 2: Set Top, Bottom, Right, and Left Margins to 1"
- To set the margins, select the Page Layout tab.
- Click on the "Margins" icon.
- Choose the "Normal" margin setting (1" for each of the margin settings).
Figure 2: Formatting the Margins
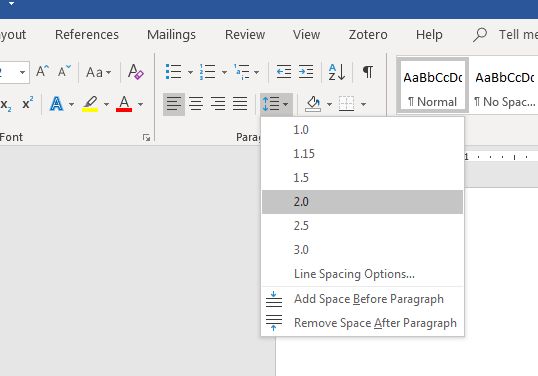
Step 3: Set line spacing to double spaced.
- On the Home tab, click the arrow to the right of "Paragraph"
- Under "Line Spacing," select "Double."
- Make sure both Before and After spacing are set to 0 pts.
- Click OK.
Figure 3: Set line spacing to double spaced.