Overview 02a: MLA Manuscript Format Part II
Header, Title Block & Works Cited
Step 4: Create a Header with your last name and the page number.
Every page of a manuscript in MLA format has a header in the upper right-hand corner of the manuscript, approximately 1/2" from the top of the page. To create the header and set the page numbering to automatically increment each page:
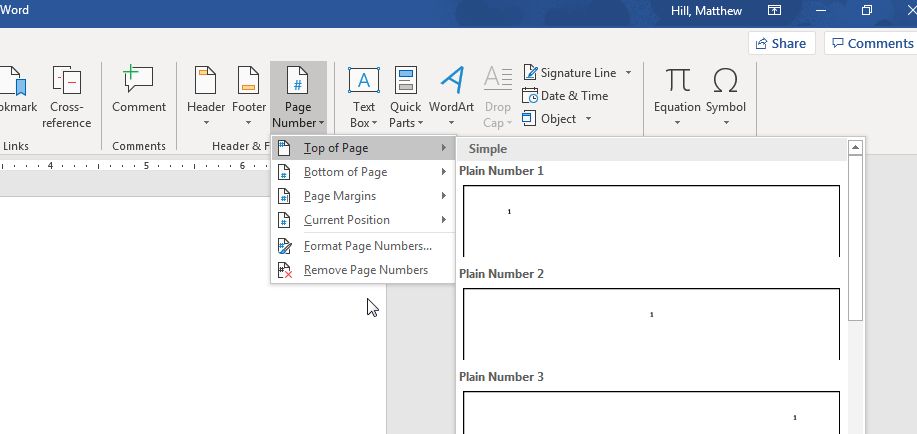
- From the Insert tab, select Page Number and Top of Page.
- Choose "Plain Number 3" (see Figure 3).
Figure 4: Set the header page number.
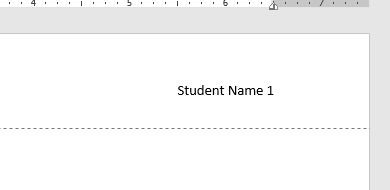
- Use the left arrow to move one space to the left of the page number; type your last name and a single blank space.
- Double click outside of the "header" box to return to your document.
Figure 5: Creating a header with your last name and the page number
Step 5: Enter the Title and Heading Block
- Go to the top left corner of your document—not in the header, but in the main body of the document.
- Type your name and then press the Enter key once.
- Type your professor's name, and then Enter.
- Type the course identification, and then Enter.
- Type the date. Press the Enter key once only.
- Click on the Align Center icon in the Home tab (under “Paragraph”).
- Type the title of your paper, capitalizing the first word and all major words and proper nouns. Do not use italics, boldfaced type, underlining, or all caps to format your title. Do not type a period at the end of the title. Press the Enter key once.
- Click on the Align Left icon in the Home tab (under “Paragraph”).
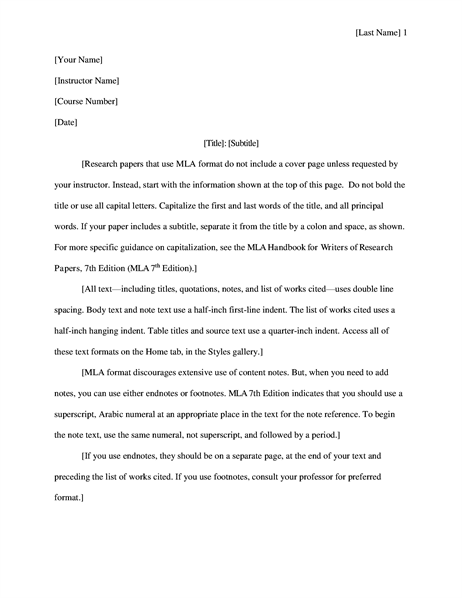
- Depress the Tab key to indent 1/2 inch to begin your first paragraph and begin typing your document. (See Figure 6 for an example of a properly-formatted MLA-style manuscript.)
Note: Do not hit the return or enter key at the end of a line; allow the word processor to automatically wrap the text to the next line. Depress the enter key only once at the end of each paragraph, and use the tab key to begin a new paragraph.
Figure 6: A properly formatted MLA-Style paper.
Step 6: Format the Works Cited page
Immediately after typing the final line of your paper, depress the CTRL key and the ENTER key at the same time. This will take you to the first line at the top of the next page. Your header and page number should already appear.
- On the "Home" tab, click on the Align Center icon.
Figure 7: Center the "Works Cited" title..
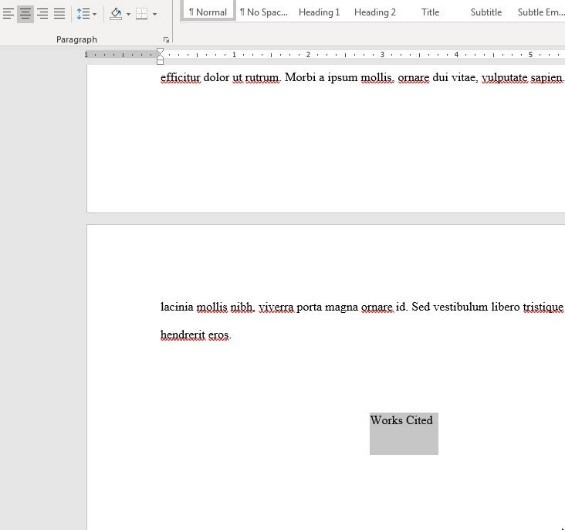
- Type Works Cited (do not underline, boldface, italicize, or enclose in quotes).
- Depress the Enter key once.
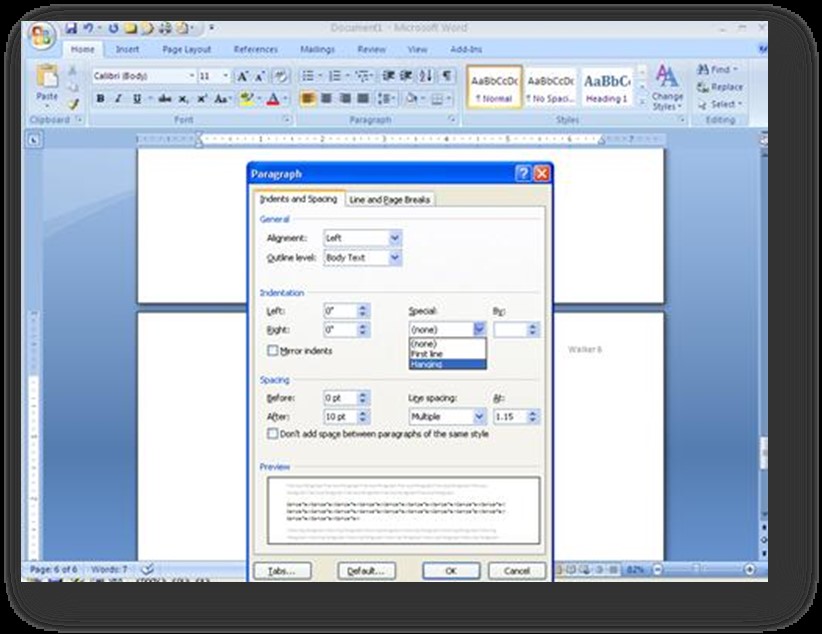
- Click on the Align Left icon on the Home tab (under “Paragraph”).
- On the Home tab, click the arrow to the right of "Paragraph."
- Under "Special," select "Hanging."
- Click OK.
Figure 8: Set "Hanging indents."
- Type your first works cited entry, using the appropriate MLA Style Works Cited citation style. See Chapter 08 in this text for the proper citation formats.
- At the end of each entry, depress the Enter key only once. Do not introduce extra spaces between entries!
- Repeat steps 5, 6, and 7 for each entry.
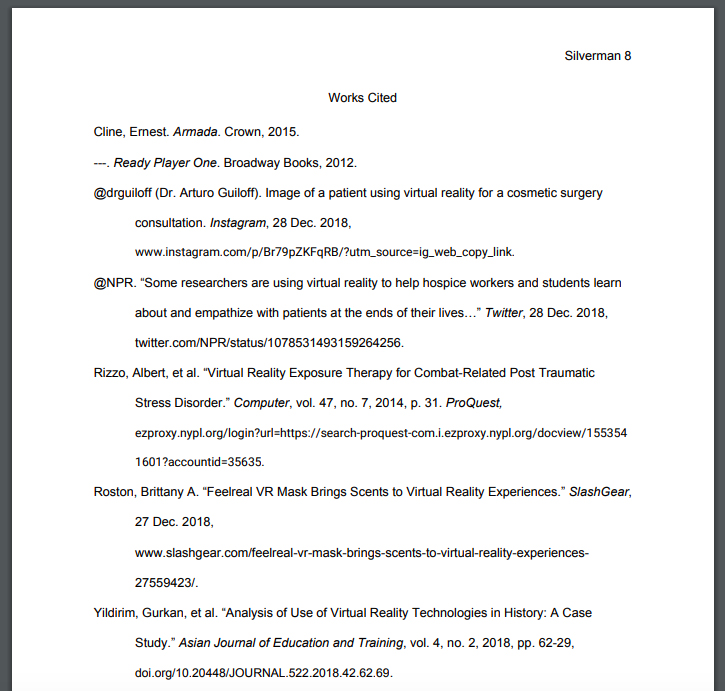
- A properly formatted MLA style Works Cited page is shown in Figure 9, below.
Figure 9: A properly-formatted Works Cited page in MLA format.